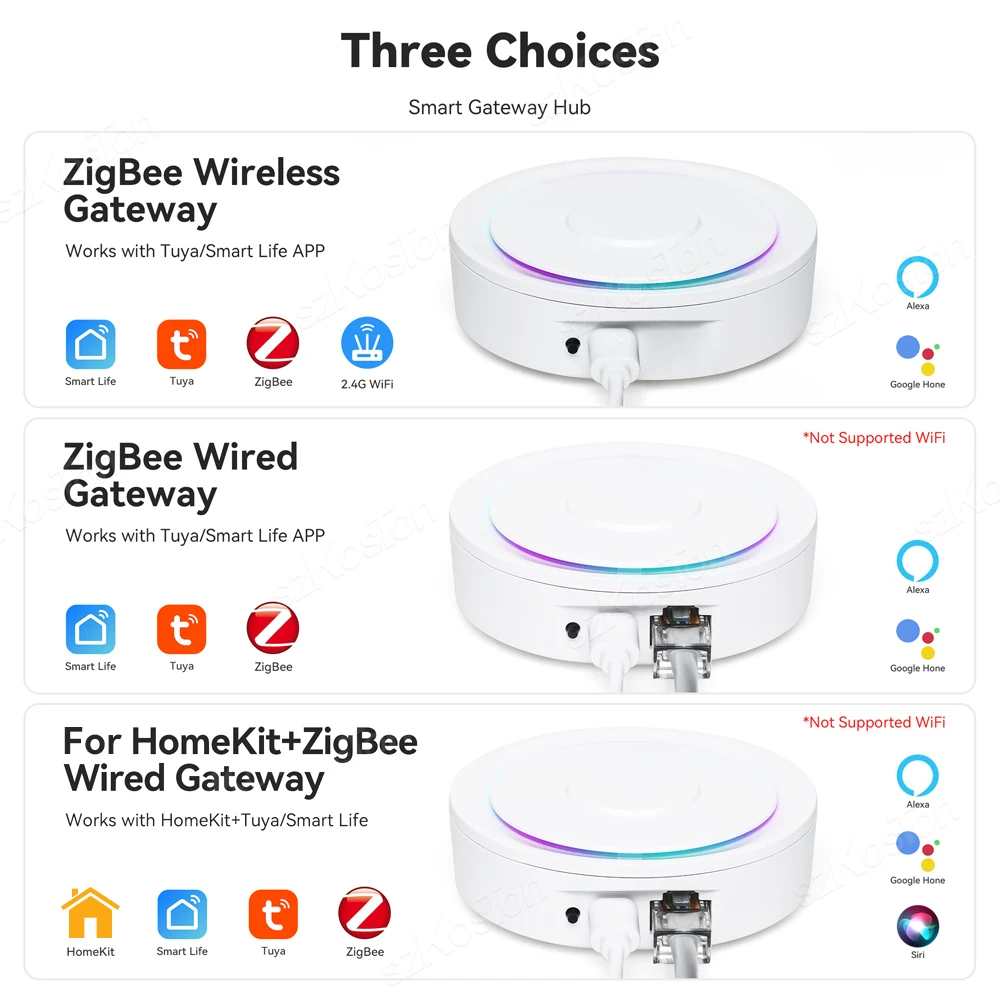
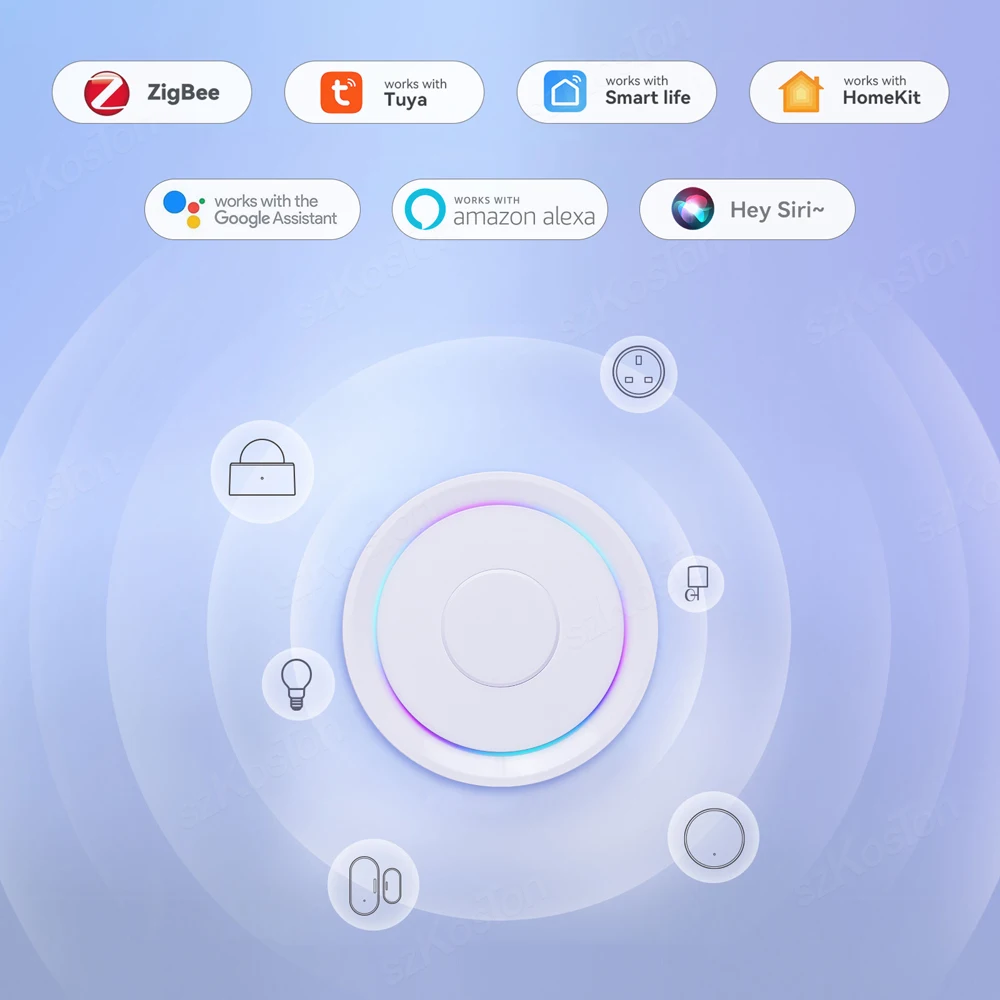
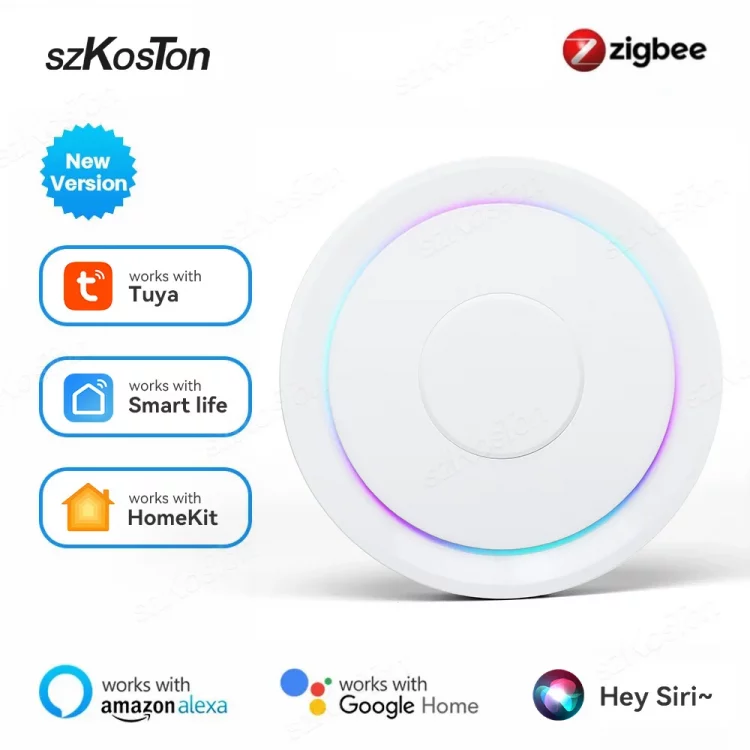
HomeKit Zigbee Hub Gateway Smart Home WiFi Wireless Wired Bridge Tuya Smart Life Works with Apple HomeKit Alexa Google
Specification:
Model Number: Homekit ZigBee Gateway Hub 3.0 Gateway Hub
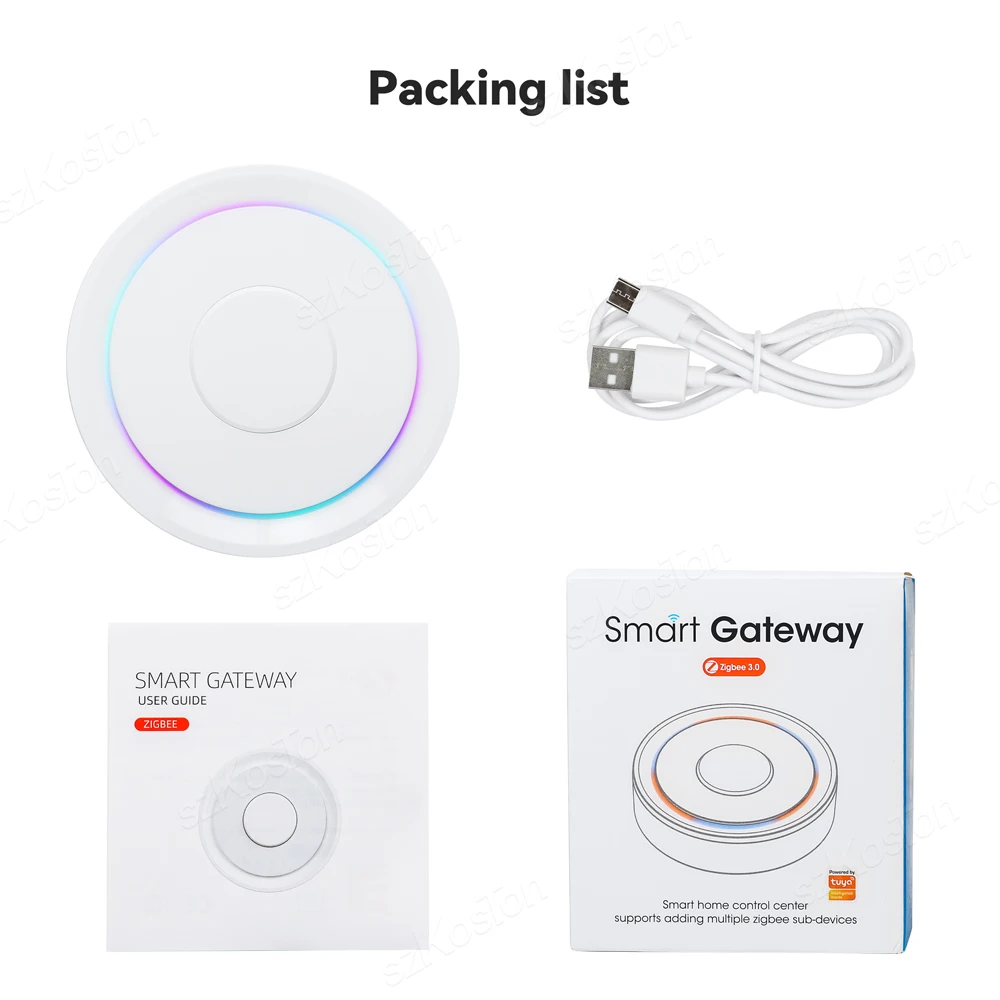
USB power supply: 5V/1A(Power adapter not included)
Working temperature: 10C-55℃
Working humidity: 10%-90% RU
Storage temperature: 10C-55℃
Storage humidity: 10%-90% RH
Network protocol: Zigbee IEEE 802.15.4
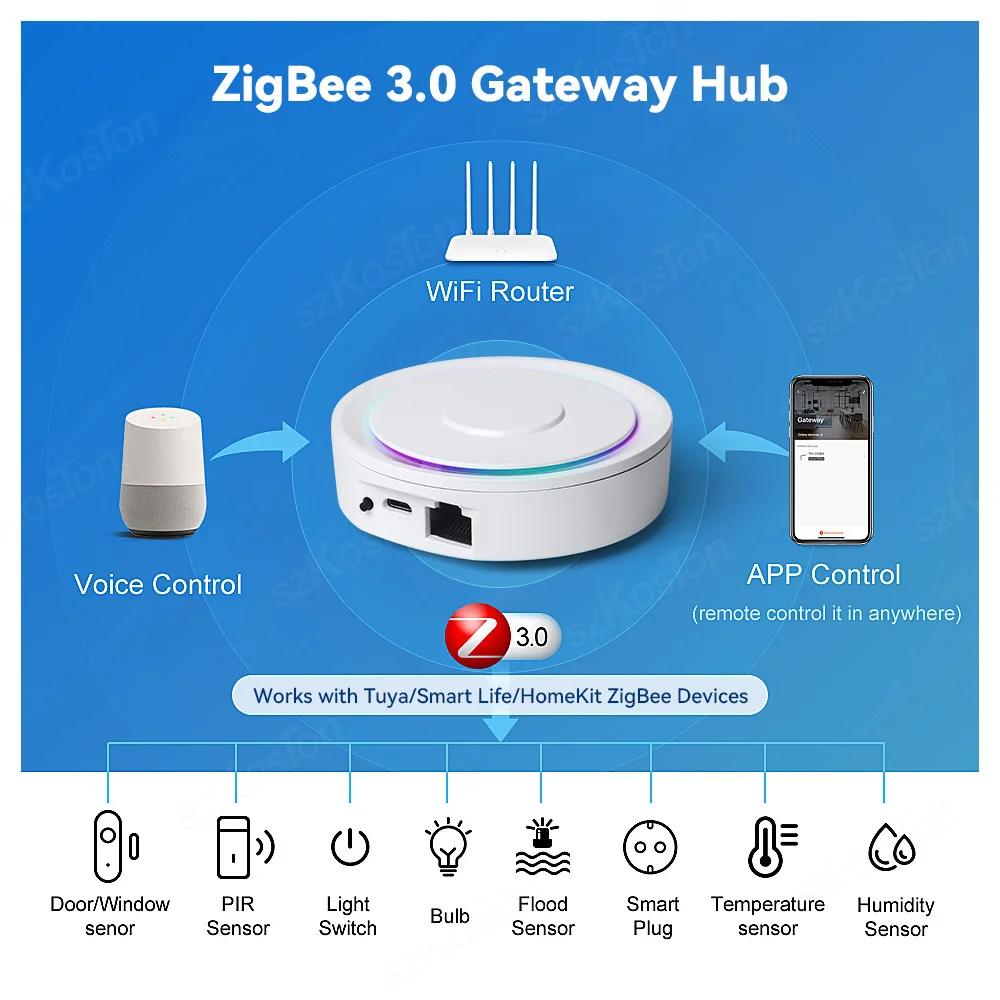
Product type: Wired gateway(Needs to be connected to the network through the Ethernet Port.)
Firmware upgrade: OTA support
Size: 78x78x25MM
NOTE:
1. None of the three options supports Bluetooth.
2.. (HomeKit Wired Hub)
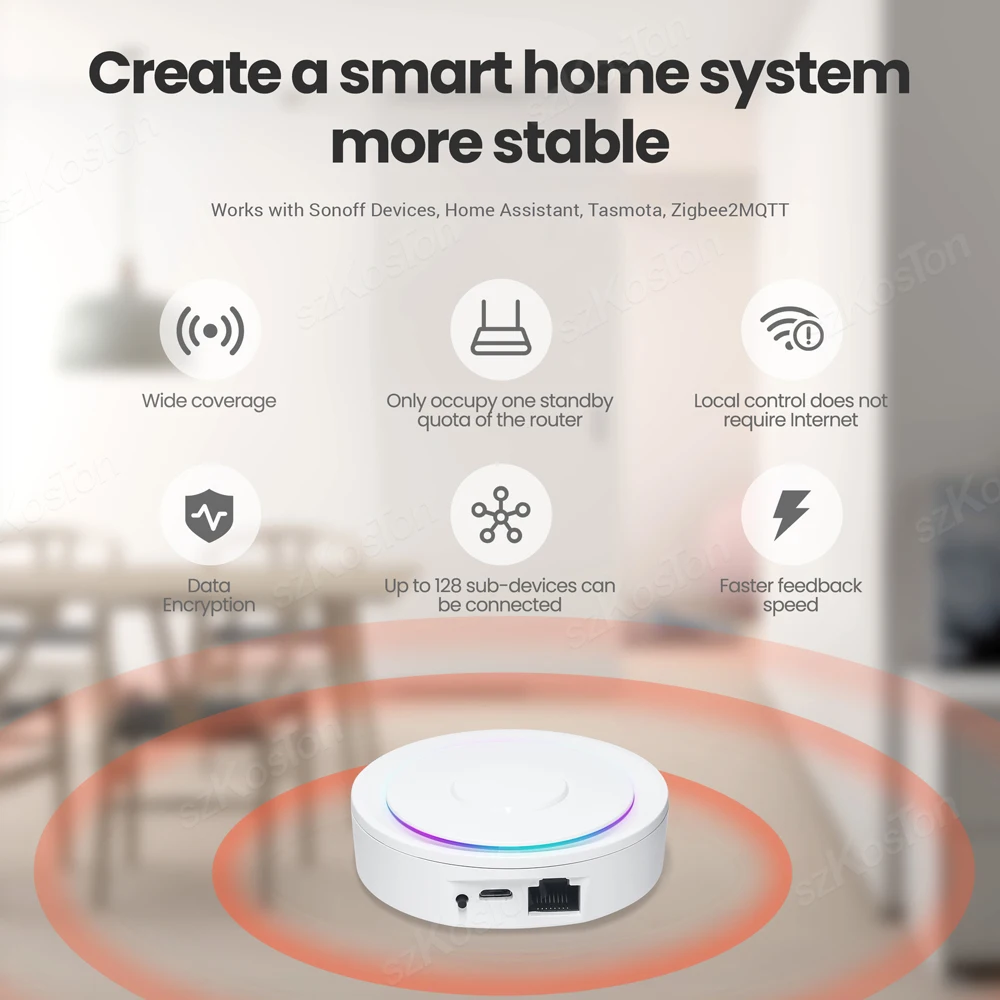
①Supports both HomeKit and ZigBee protocols.
②This device cannot be directly connected to WiFi(Needs to be connected to the network through the Ethernet Port).
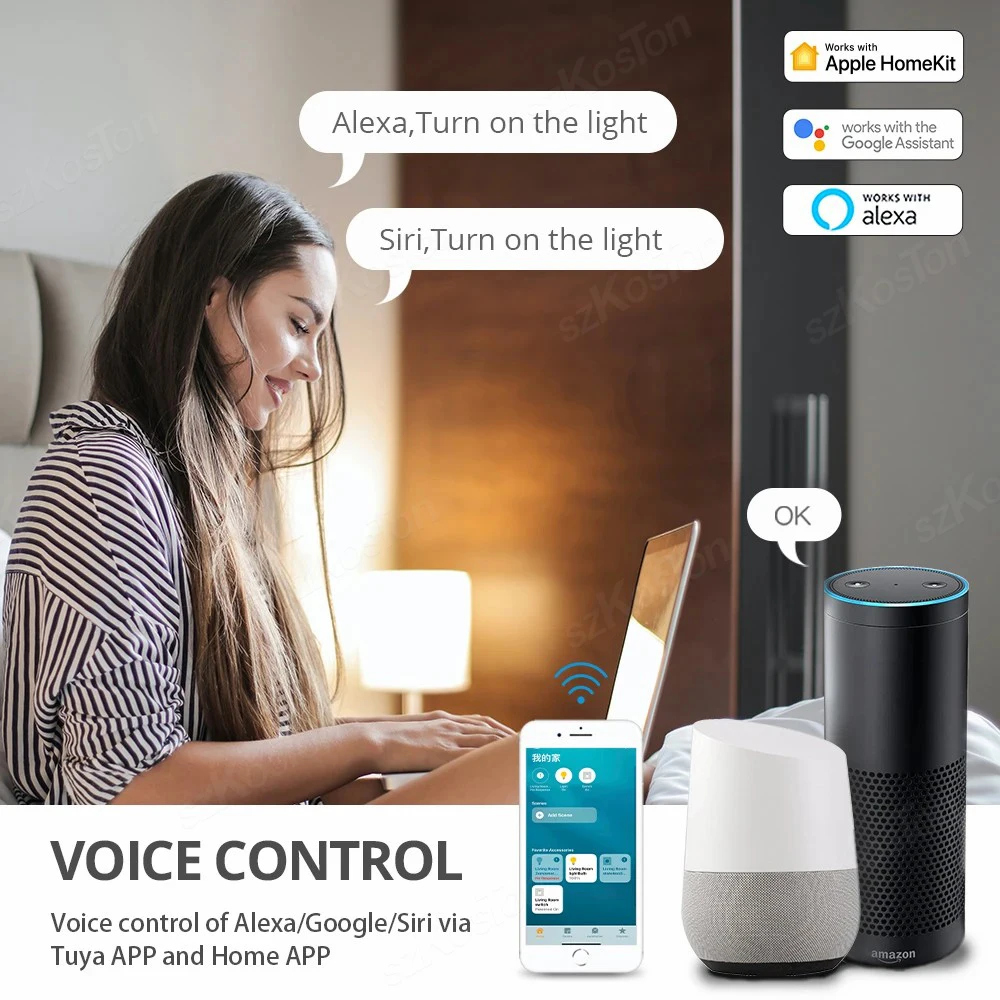
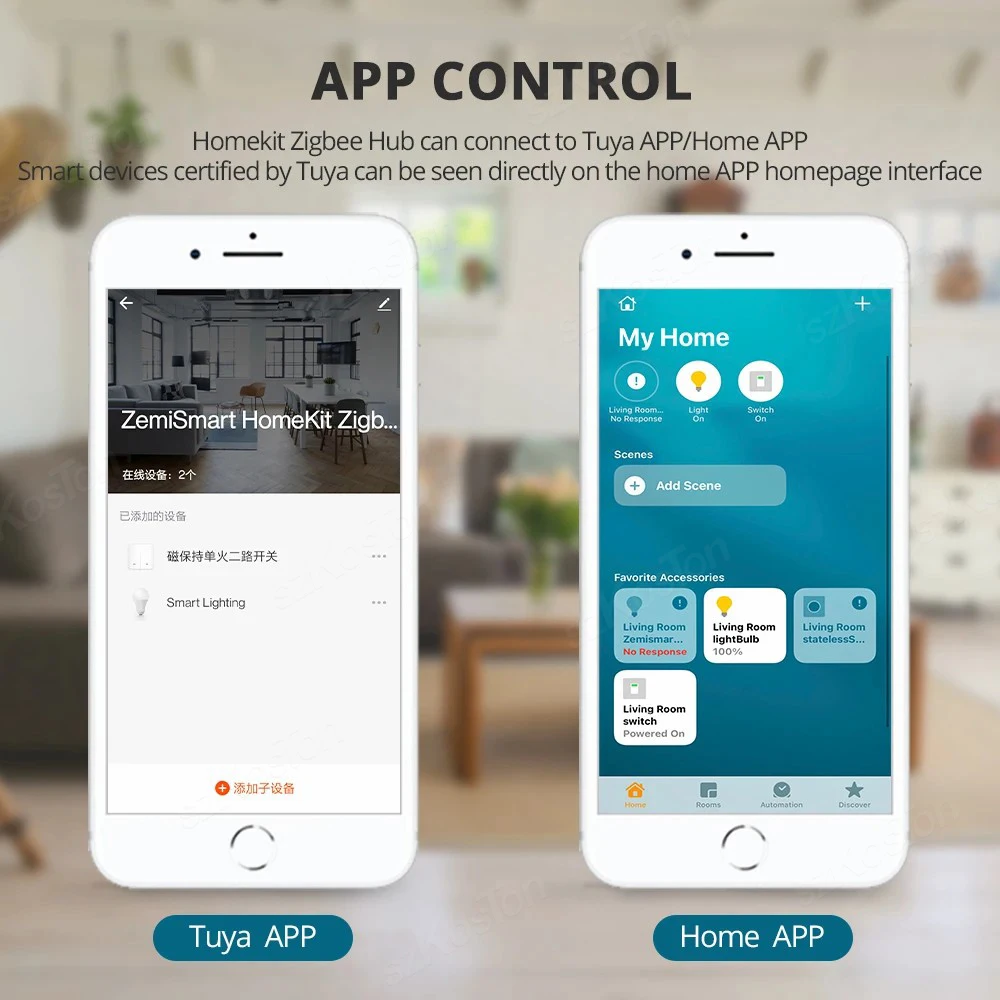
③This is a dual-purpose gateway, which can be used as a ZigBee Hub to connect with TUYA APP, or as a HomeKit Hub to connect with Apple Home APP.
④If you want your smart device to connect to the Apple Home APP through this Gateway/Hub, you need to make sure your smart device supports HomeKit. authentication protocol.
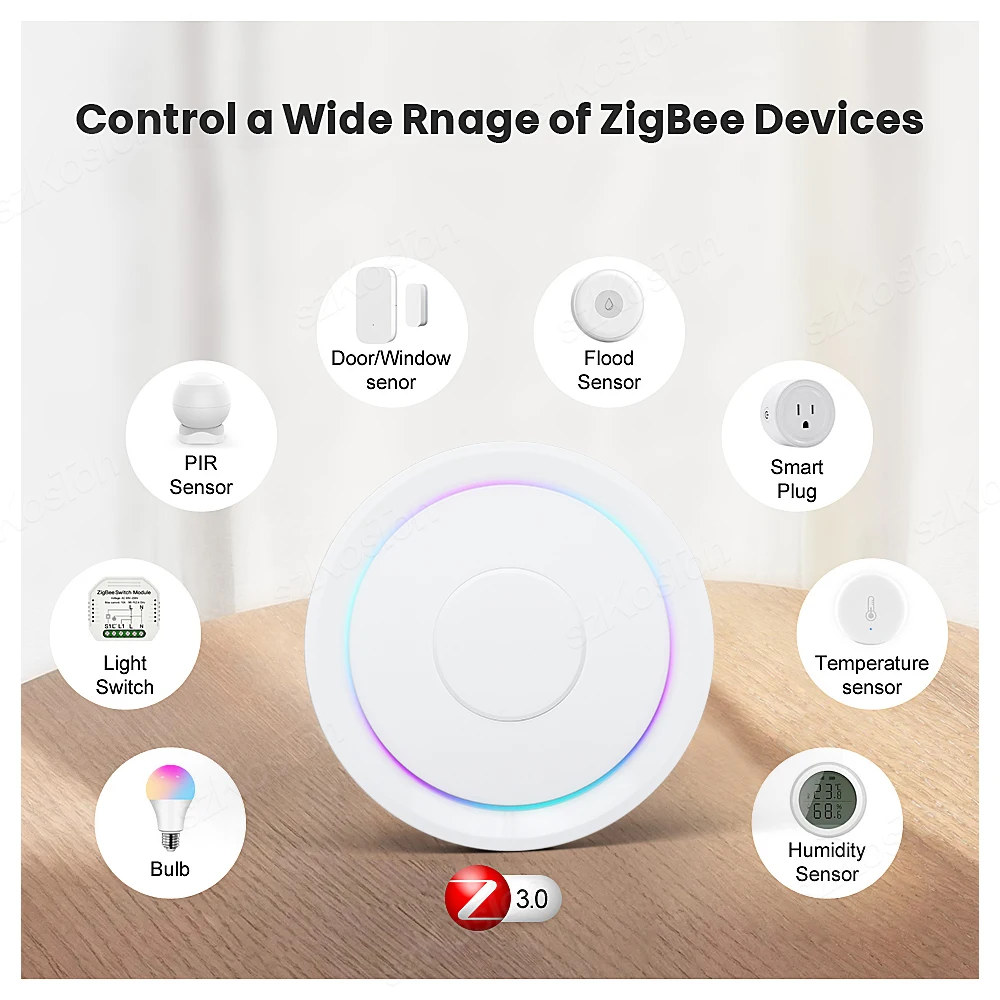
⑤This Hub is compatible with ZigBee smart devices when using the TUYA APP.
⑥ When using the Apple Home APP, you can add HomeKit-certified Zigbee devices to the gateway. When using the TUYA APP, Most Zigbee devices can be added to the gateway. Only one APP can be used at the same time, so one must choose between ”Apple Home the APP” and ”TUYA APP”.
⑦Only HomeKit certified smart devices can be added to the Apple Home APP. Therefore, you cannot connect an uncertified TUYA smart device to the Apple Home APP through this HomeKit Hub.
3. (ZigBee Wired Hub)
①Does not support HomeKit protocol.
②This device cannot be directly connected to WiFi(Needs to be connected to the network through the Ethernet Port).
4. (ZigBee Wireless Hub)
①Does not support HomeKit protocol.
②This device can be directly connected to WiFi(Not support 5Ghz WiFi network).
5.Power adapter not included.
Steps to add HomeKit child device(Homekit Accessories):
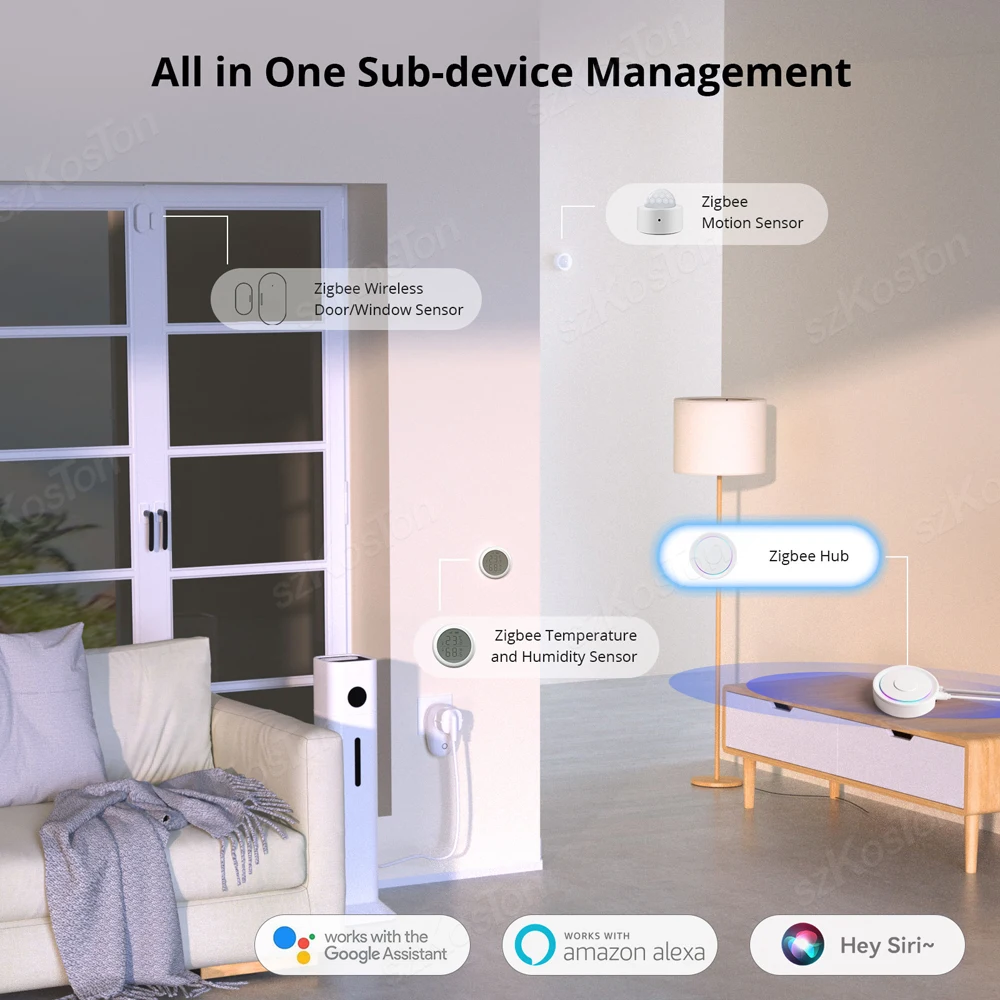
Add and manage sub-devices
1.Sub-device additions
(1)Long press the reset button of sub-device to make the sub-device enter the standby state (the indicator lights on).
(2)Short press the gateway reset button to make the gateway enter the sub-device adding state (steady blue, flashing purple).
(3)Devices will be automatically added to the gateway. After the addition, the icon of sub-devices will appear in the APP (sub-devices will be in the room of the gateway by default after being added)
2. Sub-device settings
Long press the sub-device icon to enter Settings
3. Remove child device
Since there is no option to directly remove the sub-device in the HomeKit gateway in the Apple Home APP, it is necessary to remove the sub-device from the TUYA APP, and the Apple Home APP will remove it synchronously. For details, please refer to the demo video. thanks.



There are no reviews yet.